Free build guide
Build a
vessel sink vanity.
How to build the rustic pine vessel sink vanity we sell: a DIY bathroom vanity of pine boards, beadboard and pocket-hole joinery. A drawing for every step, every part named. Free, no ads.
- Skill
- Intermediate
- Time
- A weekend
- Steps
- 8
- Widths
- 20–36″
Rather have us build it? We build it to order, from $539.
Need a different size? We’ll draw the plans to your size, $35.

Before you start
Four widths, one build.
The vessel sink vanity comes in four sizes: 20″ × 18″ × 27″, 24″ × 18″ × 27″, 30″ × 18″ × 27″ and 36″ × 18″ × 27″. The steps are the same at every size; the parts’ sizes change, and the 30″ and 36″ widths have a pair of doors.
- 01
Choose the sink and faucet first
The top is cut for them, so have them in hand, or at least their templates and instructions. A deck-mount faucet goes through the top; a wall-mount one needs its plumbing in the wall.
- 02
Check the plumbing
The back of the vanity is open between two rails, so the supply lines and the drain come up through it. If the drain comes up through the floor, you’ll cut the bottom around it.
- 03
Know the skills
It’s an intermediate build: pocket-hole joinery, biscuit-joining and edge-gluing a top, and hanging a door inside its frame. If you’ve built a frame with pocket screws before, you can build this.
The parts
Meet the parts.
Each group is built on its own, then goes into the vessel sink vanity in the steps below. Drawn from our model at 24″ wide, all to one scale.
01
Top
Pine planks, edge-glued into one solid top.
02× 2
Sides
A pine frame with a beadboard panel across its inside face. Make two, mirror images.
03
Face frame
The front: two stiles and two rails around the door opening.
04
Bottom and cleats
A ¾″ finish-plywood bottom resting on two pine cleats.
05
Back rails
Two rails, top and bottom; the back stays open for the plumbing.
06
Door
A pine frame with a beadboard panel, on T-hinges, with a bar pull.
07
Door stop
A strip behind the face frame’s top rail that the door closes against, with the magnetic catch.
Tools & materials
What you’ll need.
A checklist: tick each one off as you gather it.
Tools
Measure and cut
Drill and join
Clamp and sand
Install and stay safe
Materials
Wood
Door hardware
Fasteners and glue
Finish
How much to buy?
The printable plans list every board and sheet to buy for your width, with a cutting layout for each, so nothing’s wasted.
Step by step
How it goes together.
Each picture shows the vessel sink vanity so far, drawn at 24″ wide: the parts the step adds are shaded, and the ones already built are ghosted.
Step 01 / 08Cut 01Cut the parts
Cut every part and rip the boards that need it: 1x boards for the frames, the top and the rails, ¾″ plywood for the bottom, ¼″ beadboard for the panels.
Tip
Cut the longest parts first: if a cut goes wrong, the board is still long enough for a shorter part. Mark each part’s name on it in pencil as you go.
In the plansThe plans list every part for your width, with a cutting layout for each board and sheet you buy.
Step 02 / 08Top 02Glue up the top
Cut biscuit slots along the planks’ edges, then edge-glue the top with biscuits, ends flush and faces level, clamp it, and let it cure. Then sand it flat.
Tip
Alternate the planks’ growth rings (the arcs on their ends) and wipe away glue squeeze-out before it dries, so it doesn’t block the stain.

One we built. In the plansThe plans give the planks’ widths and lengths for each width of vanity.
Step 03 / 08Sides 03Build the side frames
Pocket-screw each side frame together, and drill pocket holes up the inside of each front stile for joining it to the face frame. The beadboard panels go on later, once the case is joined.
Tip
Drill the pocket holes in the back of each frame, where the beadboard panel will cover them.
Step 04 / 08Face frame 04Build the face frame
Pocket-screw the stiles and rails together from the back. Check the door opening’s size, and the frame for square by measuring its diagonals.
Tip
Clamp each joint flat to the bench while you drive its pocket screws, so the faces stay flush. Everything else is built off this frame.
Step 05 / 08Case 05Assemble the case
Pocket-screw the side frames to the face frame, then glue and brad-nail a beadboard panel inside each side, over the screws. Pocket-screw the back rails between the sides, glue and nail the cleats inside them, and screw the bottom down onto them.
Tip
Assemble the case on a flat floor or bench so it doesn’t rack, and check it for square before the panels and the bottom go in: once they’re glued, it stays the way it is.
Step 06 / 08Door 06Build and hang the door
Build the door frame with a beadboard panel lapped across its back. Add the door stop, hang the door on surface-mount T-hinges with an even gap all around, and fit a magnetic catch.
Tip
Slip a couple of thin shims or playing cards into the gap while you mark and fit the hinges, so the gap stays even all around.

One we built. In the plansThe plans give the door’s frame and panel sizes for each width, one door or a pair.
Step 07 / 08Finish 07Cut the top and finish
Cut the top for your sink and faucet from their own templates. Then sand, stain or paint, and seal the case, and the top on every face, underside and cutouts included.
Tip
Test the stain on an offcut first: on pine, a pre-stain conditioner evens it out.
Step 08 / 08Install 08Attach the top and install
Once the finish is dry, attach the top with figure-8 fasteners, never glue, so the solid wood can move. Set the vanity level and screw its upper back rail to the wall studs. Plumbing to your local code: we recommend a licensed plumber.
Tip
Seat the figure-8 fasteners in shallow Forstner-bit recesses, so the top sits flat on the case.

One we built.
Plans & prices
Build it with the plans, or we’ll build it.
Free build guide
This page
- Every step, in order, with a picture
- The parts, named
- Tools and materials
- A tip for each step
Printable plans
$7
Everything in the guide, plus every measurement:
- All 4 widths: 20″, 24″, 30″, 36″
- A dimensioned drawing of each, every part lettered
- The cut list, hardware and build order for each width
- A shopping list and a cutting layout for every board and sheet
- The build in pictures, every part lettered
- One printable PDF, yours to keep
A PDF to download as soon as you pay. Personal use only: build it for yourself. Don’t sell what you build or share the plan. Read the plan license.
Plans are digital downloads, so they can’t be returned or refunded. If you find a problem in a plan, tell us: we’ll fix it and send you the corrected file.
Built for you
From $539
- Built to order in Flushing, Michigan, in any of the 4 widths
- Raw wood, stained or painted
- Shipping to the lower 48 included
Need a size we don’t list? We’ll draw the plans to your measurements, anywhere from 18–48″ wide, 16–24″ deep and 27–36″ tall, for $35, and email them within 1–2 business days.
Choose your size
Look inside the plans
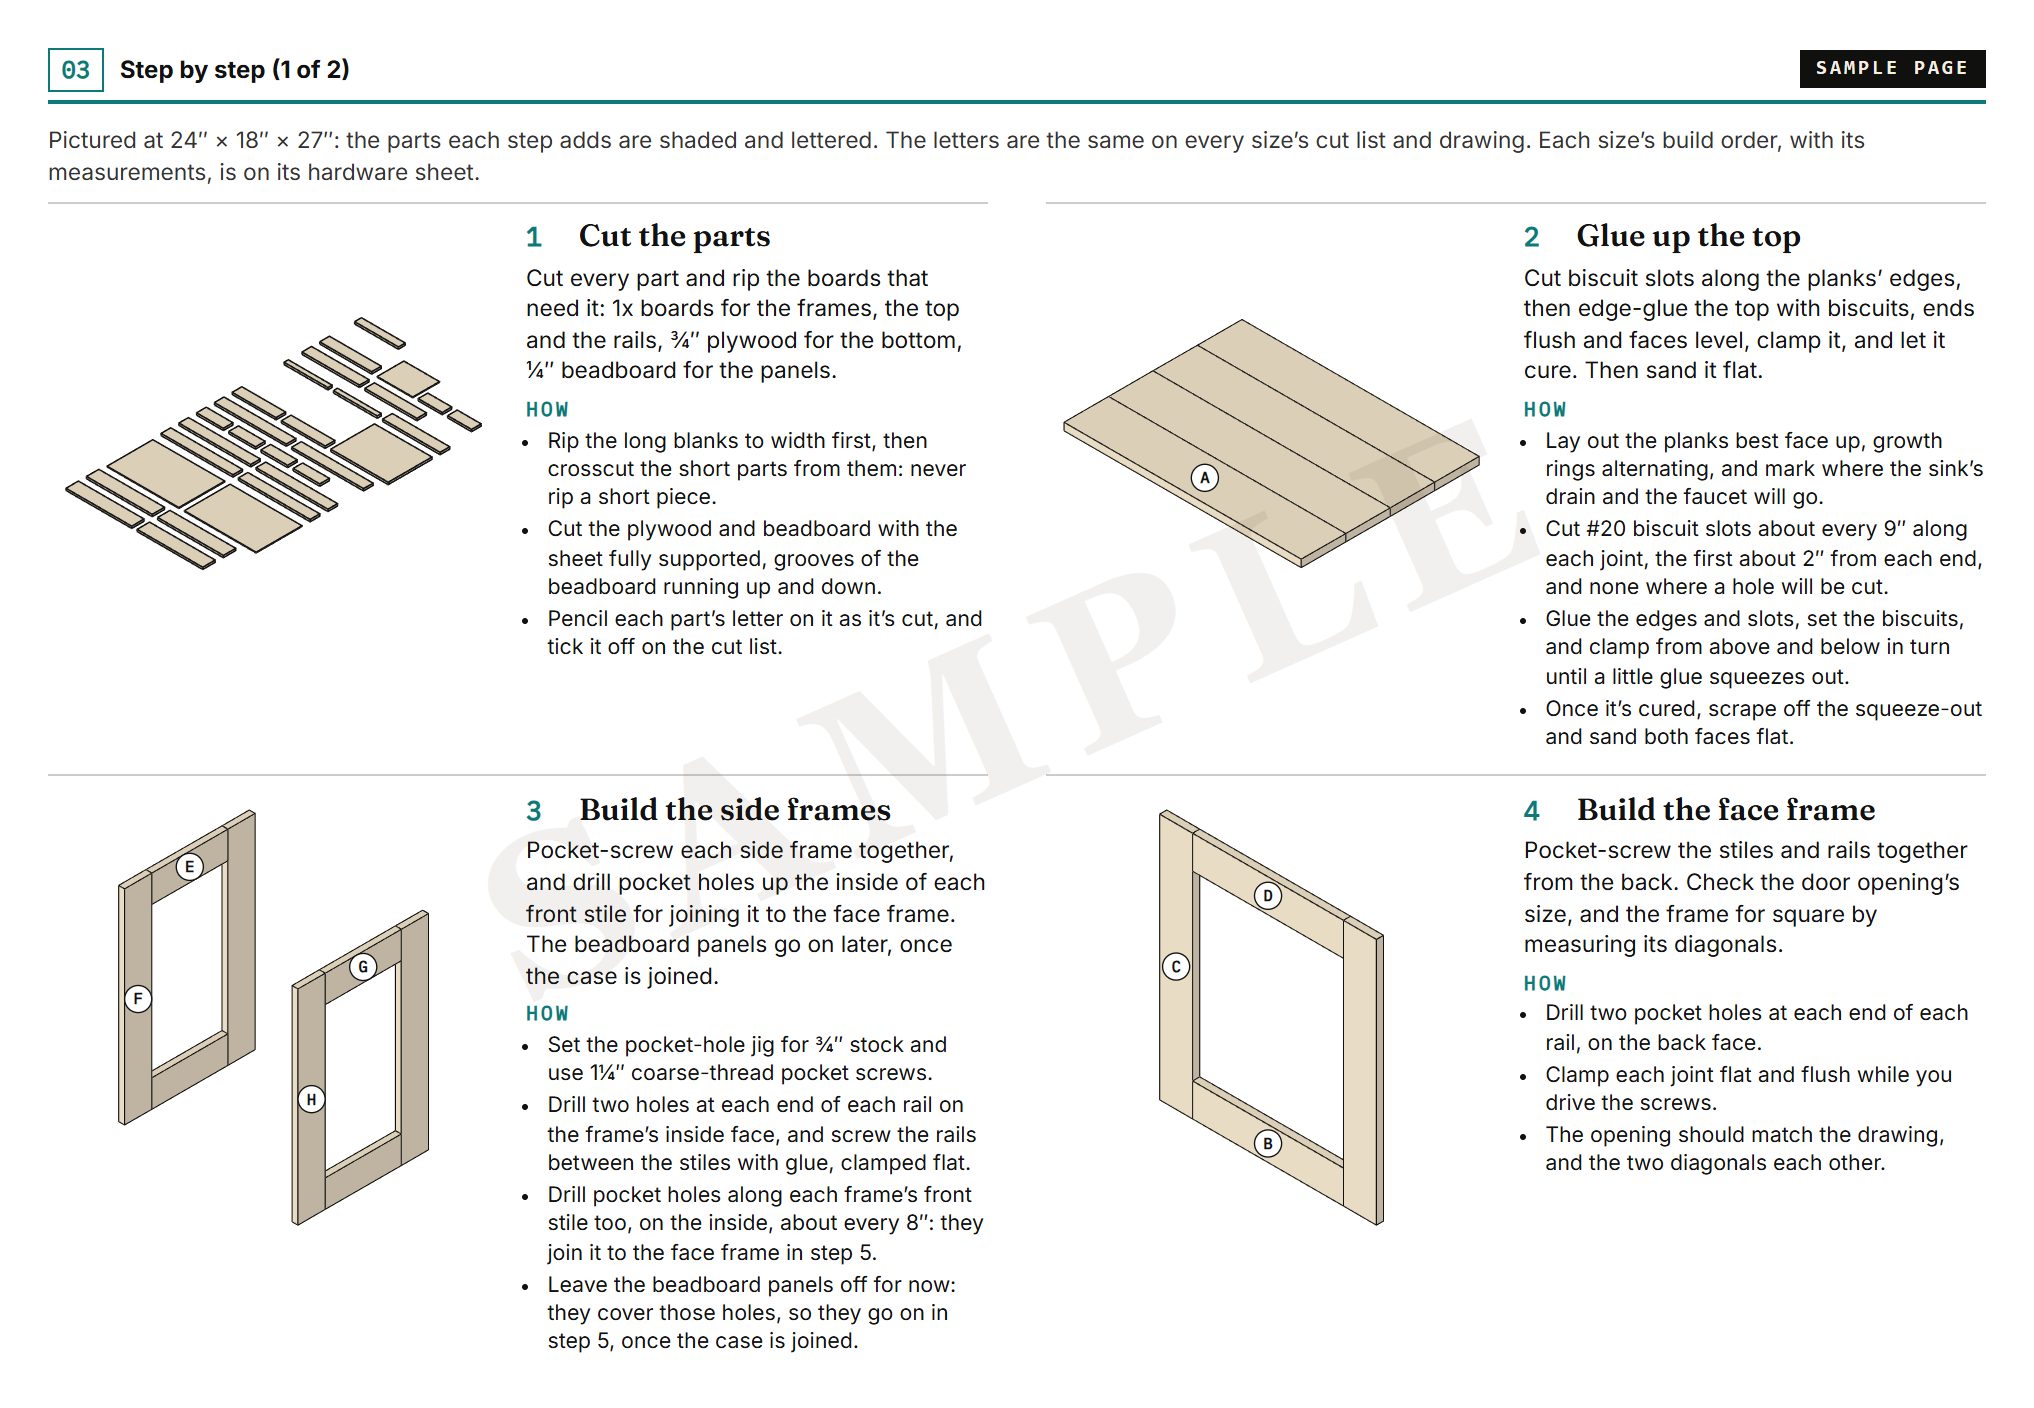
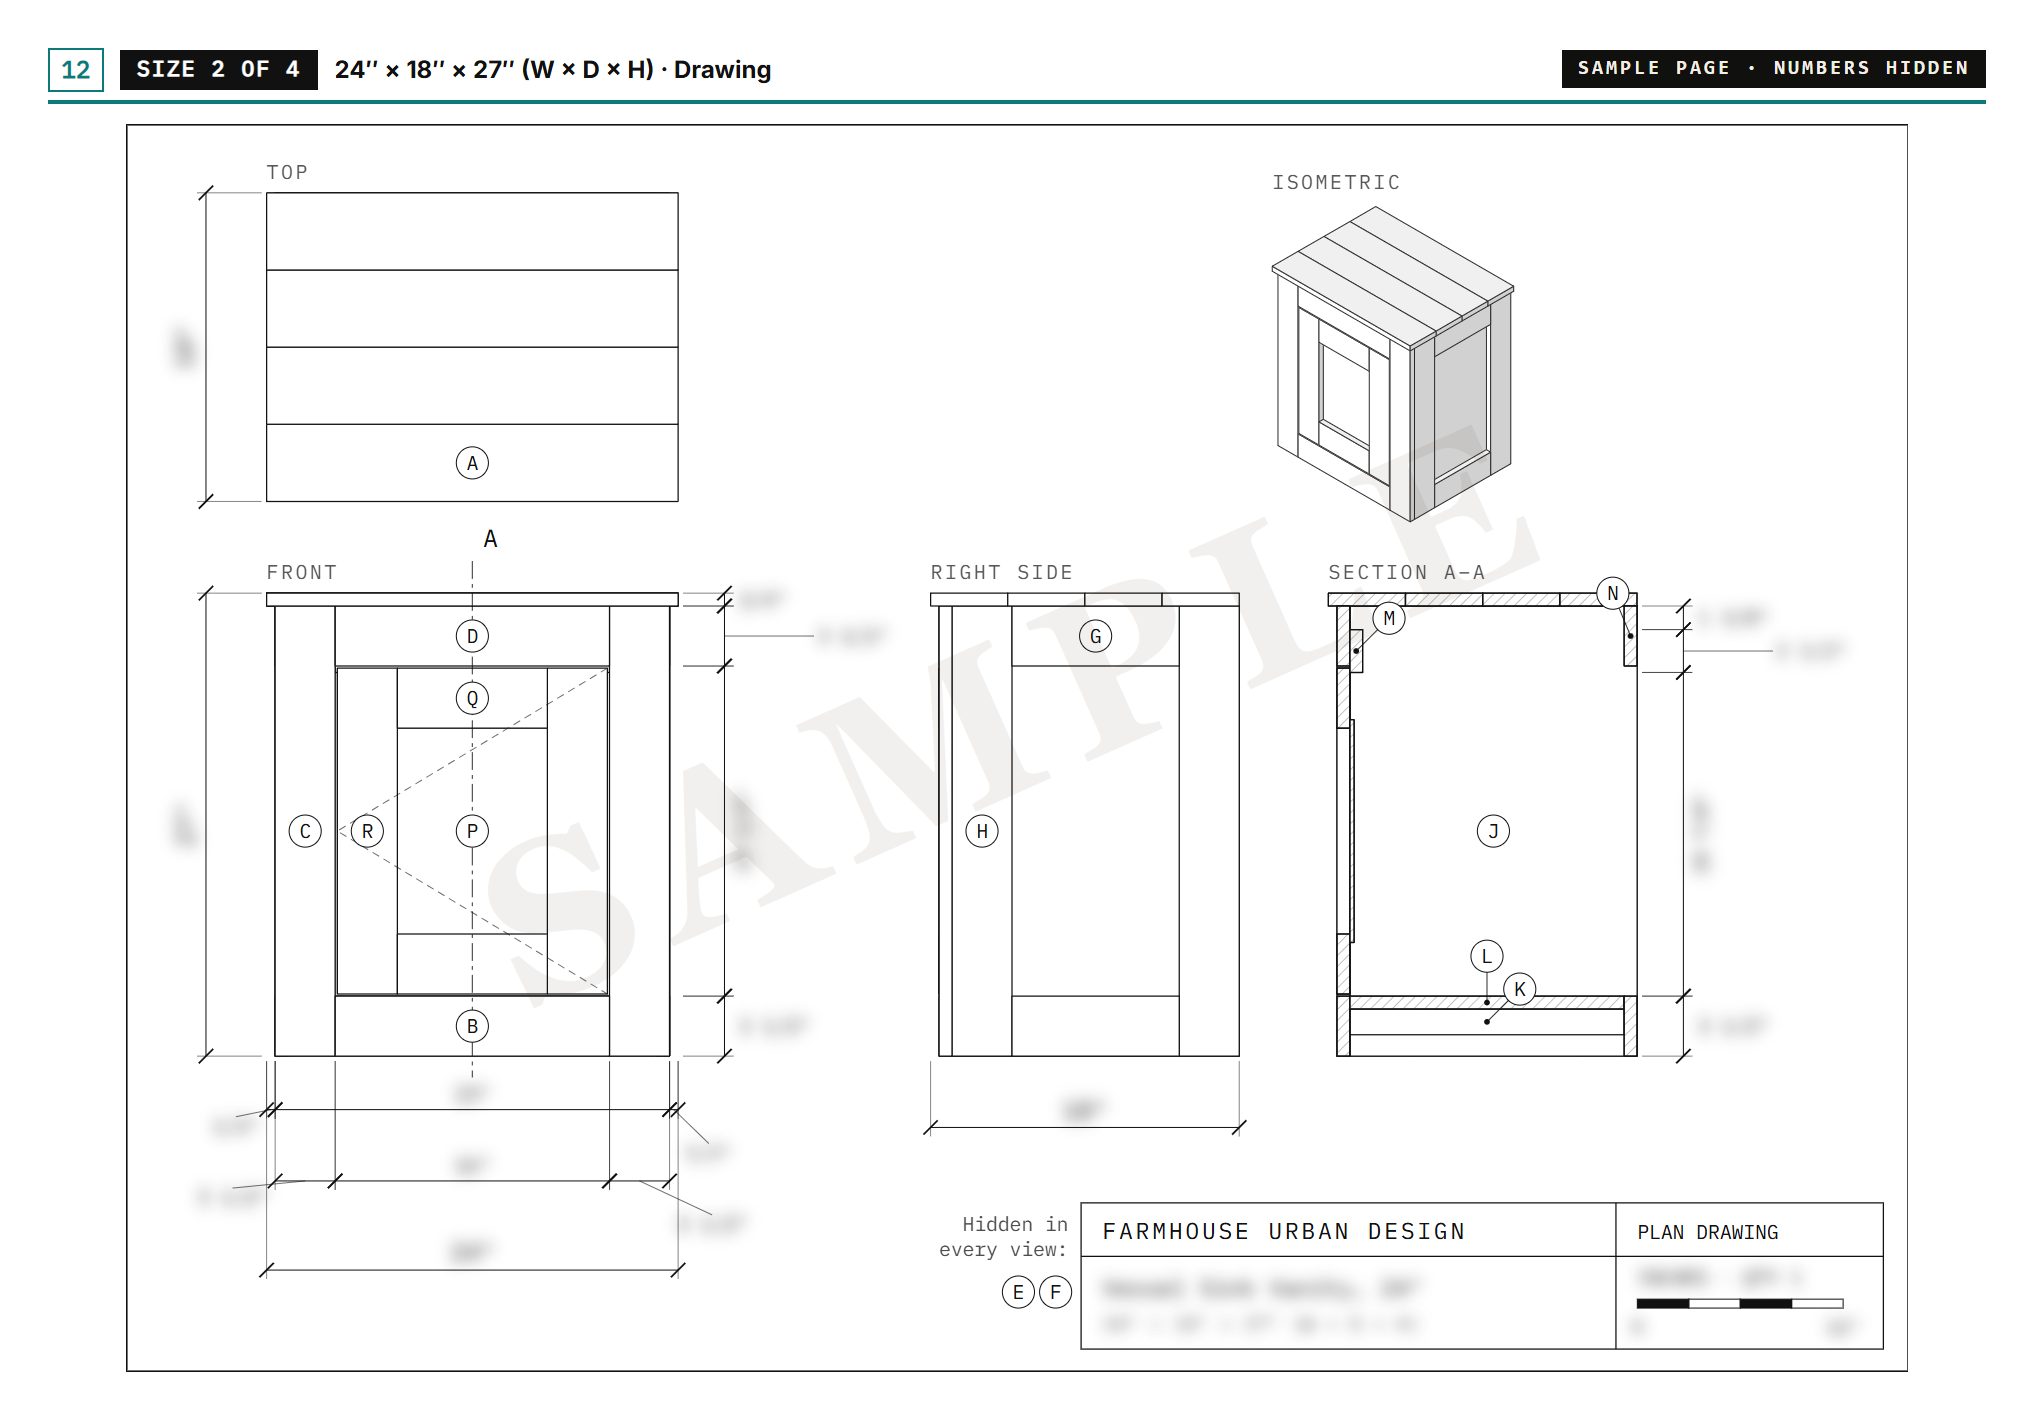
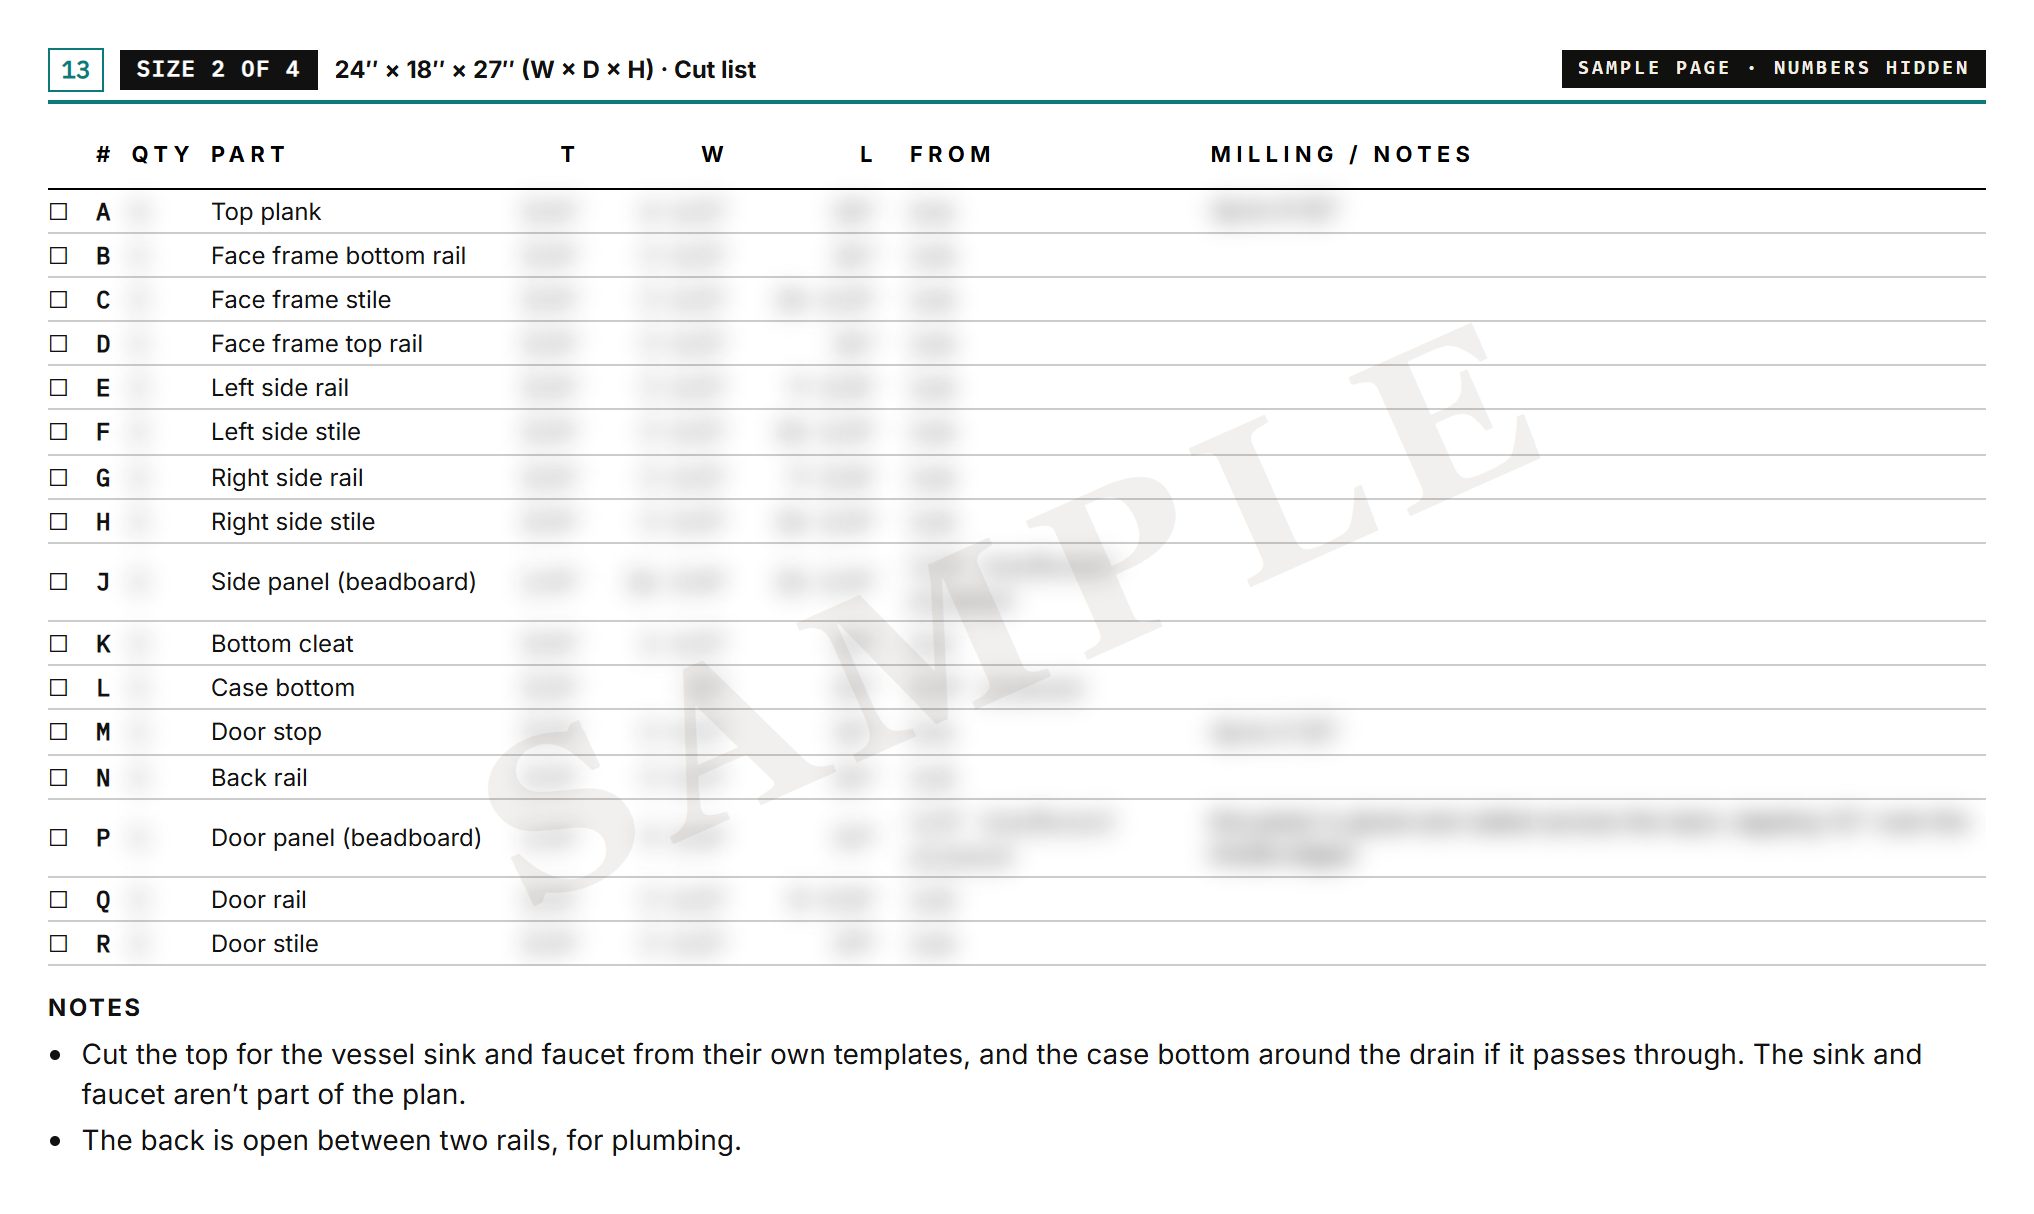
Four of the plan’s pages, as they print. In these samples the numbers on the drawing and the cut list are blurred; the plans have every one, for every width.

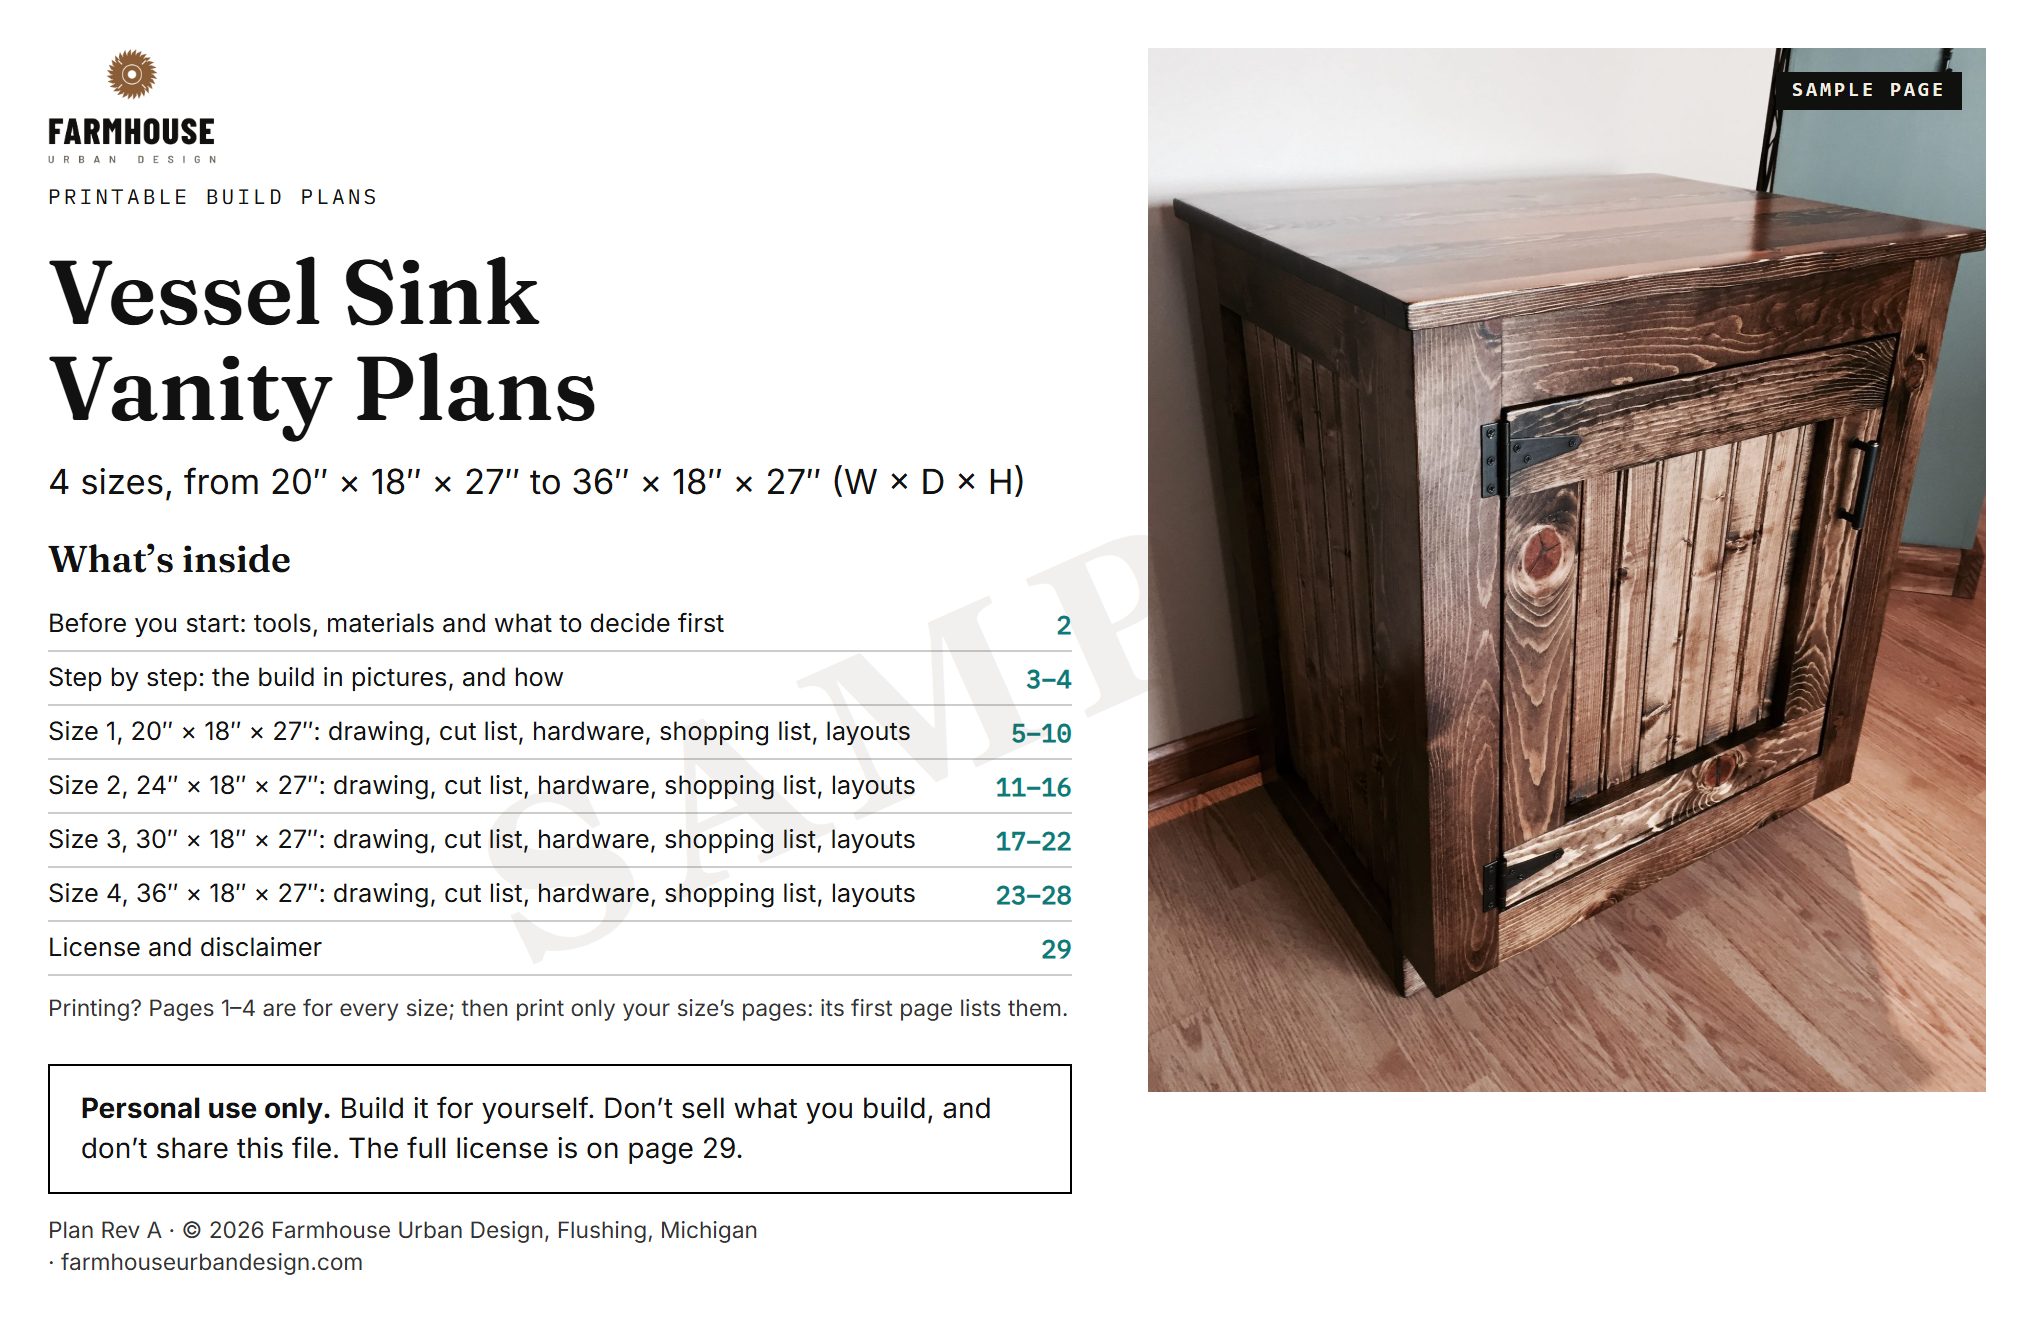
01 · The cover

02 · Step by step

03 · The 24″ drawing

04 · The 24″ cut list
Questions
Good to know.
Something else? Email farmhouseurbandesign@gmail.com. We usually reply within an hour or two.
Is this guide the whole plan?
It’s the whole method: every step, in order, with a picture. The printable plans add every measurement, for all four widths.
Can I get plans for a different size?
Yes. The plans cover the four standard sizes; for any other size from 18–48″ wide, 16–24″ deep and 27–36″ tall, we’ll draw them to your measurements for $35 and email them within 1–2 business days. Choose your size.
What sink fits?
A vessel sink sits on top of the vanity, so most will fit: the top is 18″ deep. Check your sink’s drain size and your faucet’s instructions for the holes to cut.
How tall should a vessel sink vanity be?
Lower than a regular vanity, because the sink sits on top of it. A typical vessel sink stands about 5–6″ tall, so on this 27″ vanity its rim sits at about 32–33″, right where the top of a standard bathroom vanity would be. That’s why ours is 27″. For a higher rim, choose a taller sink.
Are the sink, faucet and hardware included in the plans?
No: the plans are a printable PDF. They list the hardware to buy for each width.
Can I sell vanities I build from the plans?
No. The plans are for personal use only: build it for yourself, and please don’t share the file.